 352.690.6334
Welcome back for part three of our carpentry for the novice series. In our last article, we discussed the proper way to cut using a handsaw and circular saw. While these are two of the most important tools, we don’t want to forget about the final step to bring it all together: nailing.
Steve Allen Construction of Ocala, FL has been in the carpentry business for over 35 years. We know carpentry. We’re glad you’re interested in the world of carpentry; continue reading further to learn more of the basics.
Nailing
You might see some guys hammer a nail in two quick hits. They have been hammering nails for years – it looks easy but actually takes a lot of practice to get it right. Start with a hammer that feels right. Aim for one that is around 16 to 20 ounces and balanced.
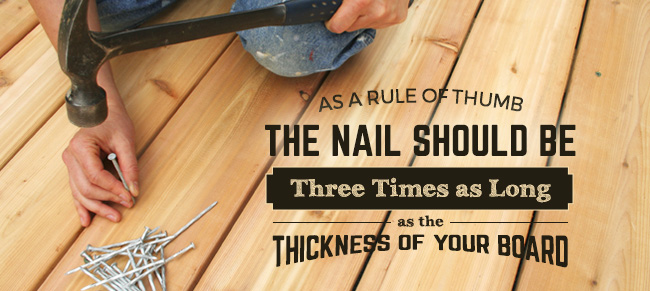
As a rule of thumb, the nail should be three times as long as the thickness of your first board. This will make sure the nail goes twice as far into the second board as the first.
Picking the right nail:
- Common flat-headed nails are great for ordinary jobs.
- Spiral or spiral-shanked nails are useful for extra holding power.
- Finishing nails have no head and are for inside jobs where you don’t want the nail head to show.
- Galvanized nails are resistant to rust and should be used for projects that will be exposed to weather conditions.
You might run into some situations where the nail doesn’t drive directly into the board. Here’s how to handle two common occurrences.
Is the nail crooked? If it’s already over a third of the way into the wood, then it might be too late to correct it. Pull the nail out and give it another try altogether. If it happens again in the same area, you might be trying to nail through a knot or curved grain. You might need to pre-drill a hole then try to hammer the nail through one more time.
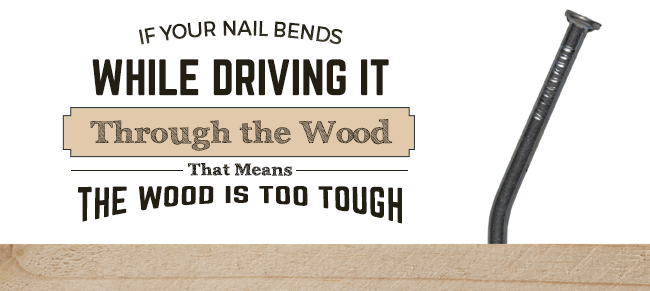
Another scenario you might run into is that the nail bends over while trying to drive it through the wood. This usually occurs if the wood is too hard. You also need to check and make sure you are using the right nail for the job and it is strong enough to easily penetrate the material you are nailing through. A quick trick is to try and rub soap or wax on the nail to let it glide through the wood easier. Worst case scenario, you need to pre-drill the hole first. Always make sure you aren’t trying to hammer the nail at an angle.
Thank you for joining us on part three of this article series. Now that you have gone through the basics with us, get your tools together and ready. Next week, we will go over a few basic project to test your skills.
Steve Allen Construction of Ocala, FL has been servicing the north central Florida area for over 35 years. We are passionate about carpentry and want to help you get started. If you have any questions, please contact us. Want to share your projects? Join us on our social media channels.
Take a quick read over our last installment of the Carpentry for the Novice series. http://t.co/89P4aPbHmR
— Steve Allen Inc. (@SteveAllenOcala) February 20, 2015